
Our Vintage Style Interior Doors (DIY Finishing)
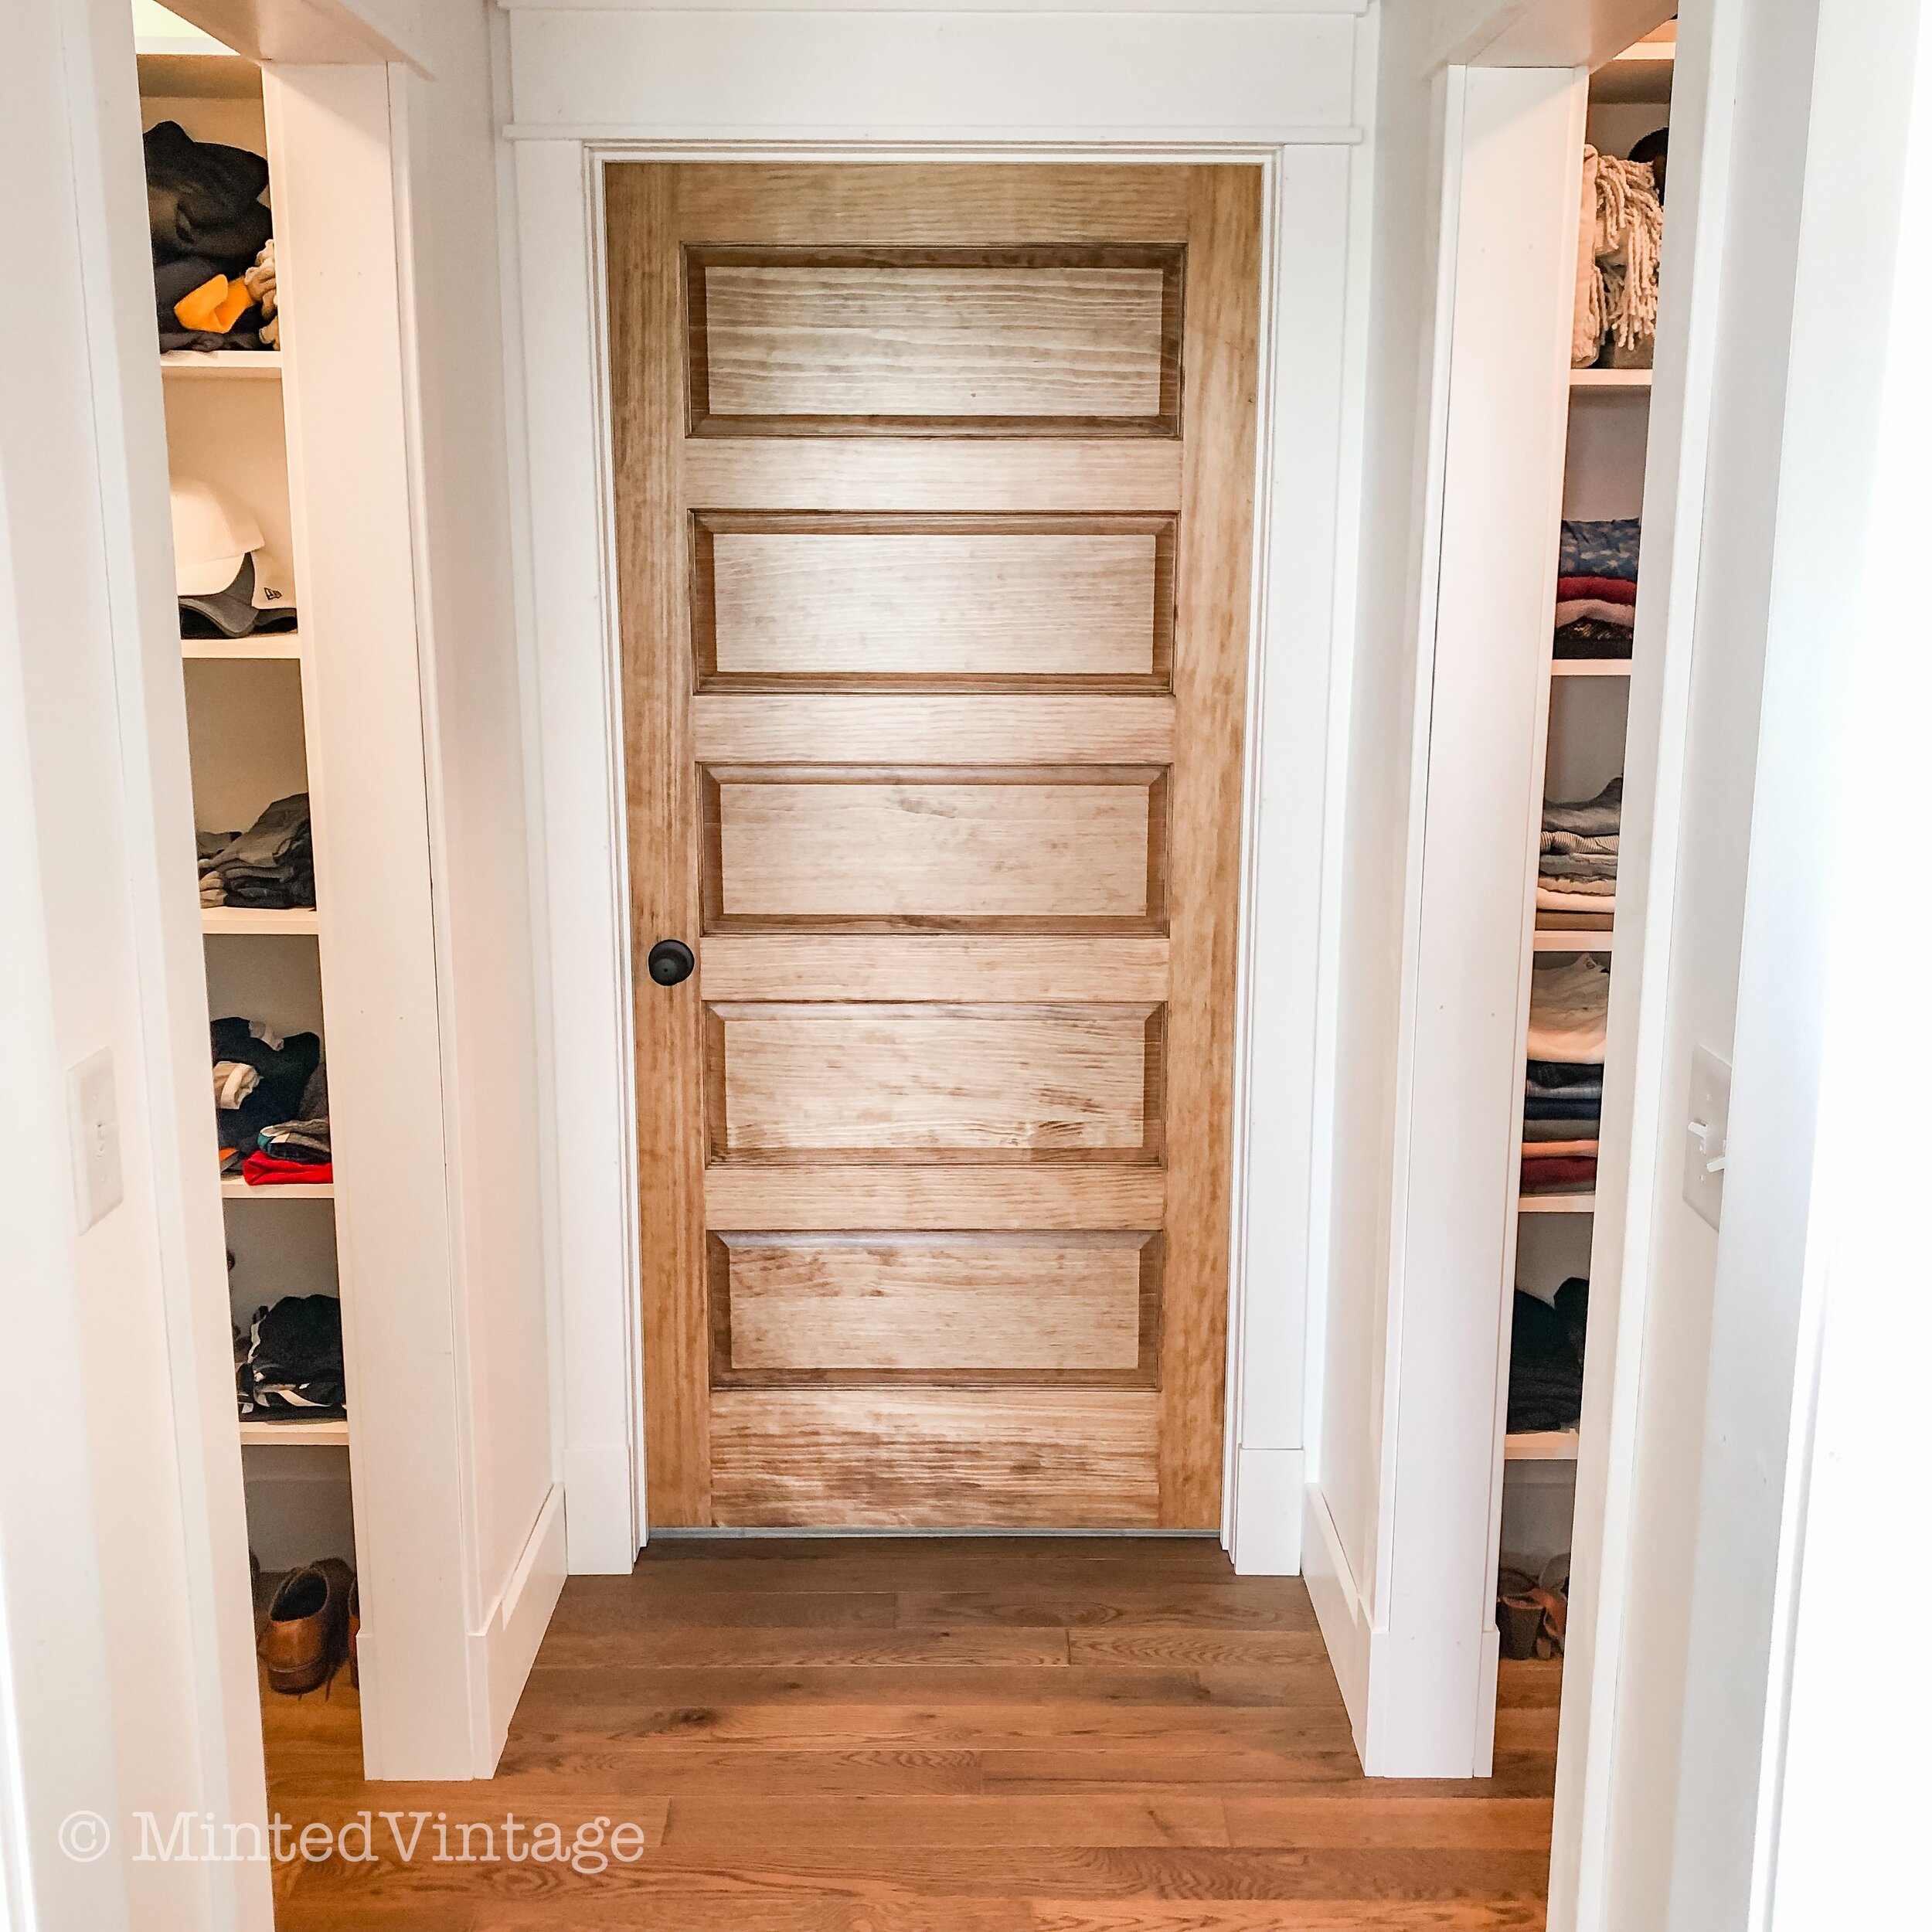
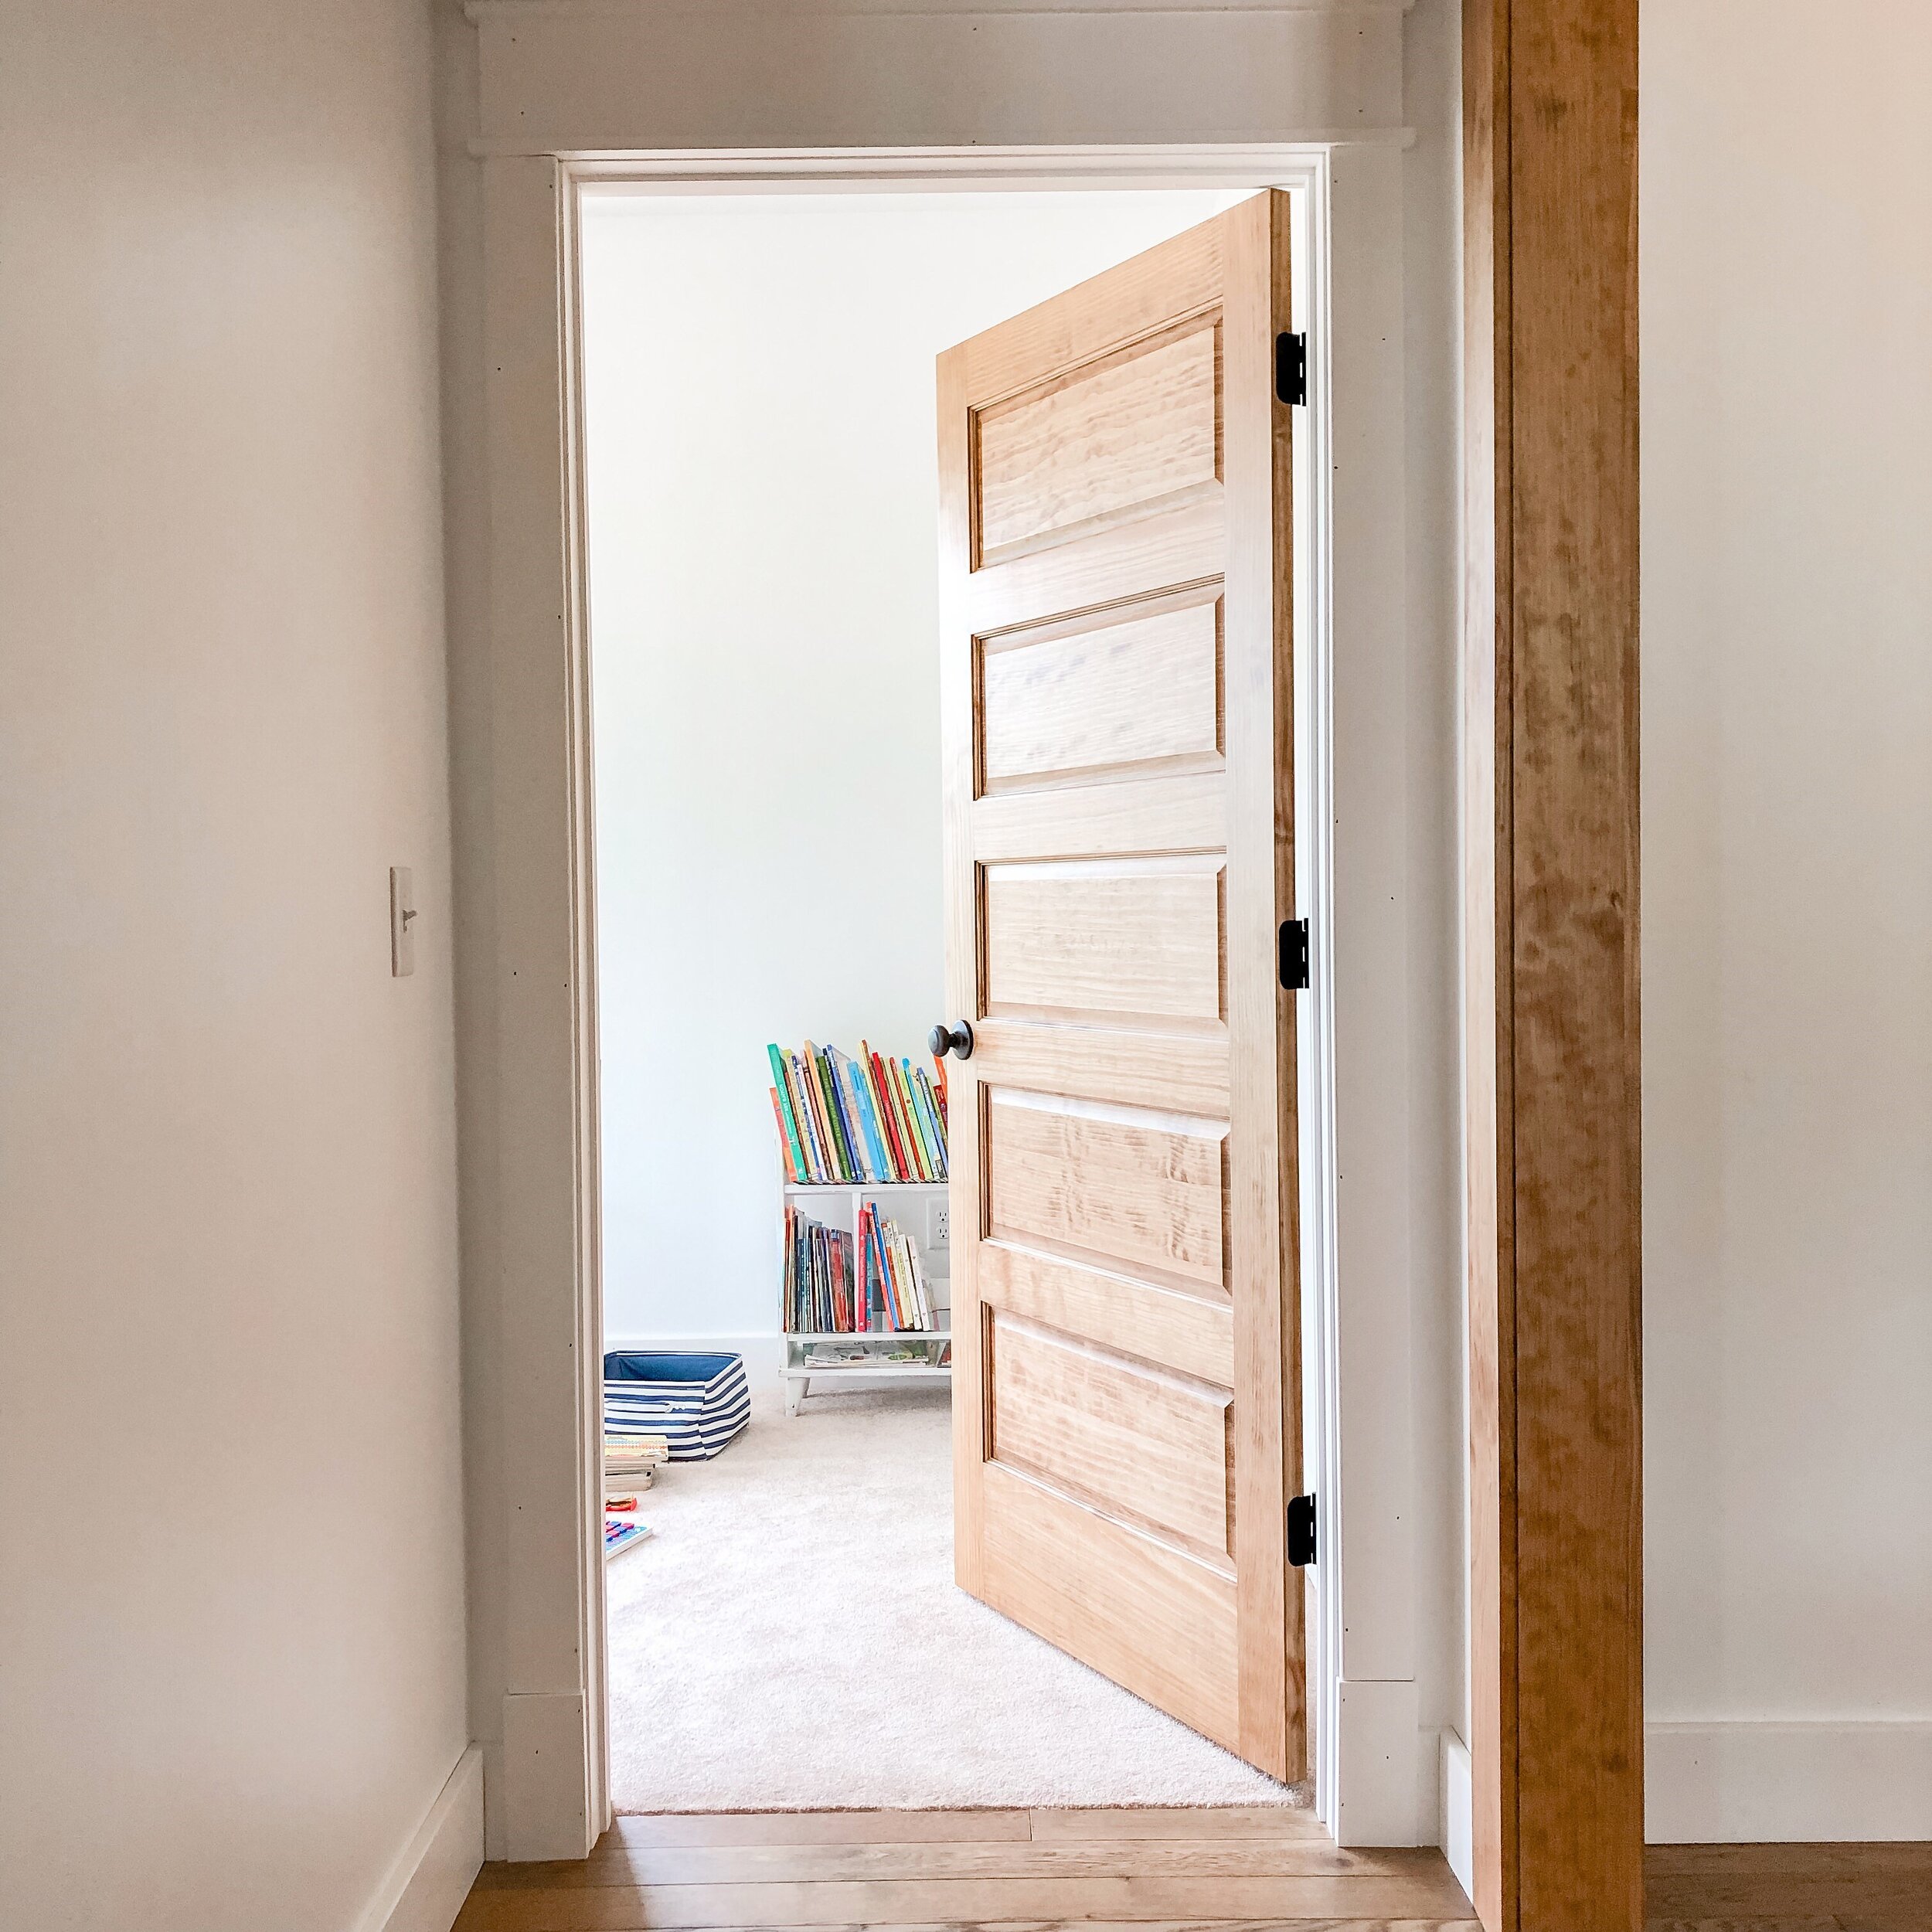
There were a handful of must haves for this final build of ours. One being the interior door style. I planned a majority of the interior design around a certain style of door: a 5 equal, raised panel door. Why, you ask? Well, I knew there would be a lot of white + a lot of natural light throughout the house, so I wanted the doors to feel like a fixture in the house instead of just blending into the white walls. Now, if it had been completely up to me we would’ve had all vintage doors! I actually found some at the beginning of the build, but our contractor wasn’t sure about it. Rightfully so, vintage doors can’t be returned and the standard sizes for doors are wider now than most vintage doors are.
The next best option was to order the same style door, but brand new! We ended up ordering ours through a local lumber company. The only option we had for a raised panel door was solid core. (Solid core is more expensive than molded doors, but I’m not sure if molded doors can have raised panels.) We chose pine because our wood trim and other pieces of furniture we are making will be pine. No matter where you order this style from, it is considered a custom door. (Meaning, they don’t have them readily in stock.) Expect a few weeks wait, especially during a pandemic, but I promise you they will be worth it!
The doors came unfinished. (Having them pre-finished would have cost a lot more and they were already quite expensive.) We finished them ourselves using our favorite stain combination. Staining and clear coating all the interior doors was a big job, but we are so pleased with how they turned out.
How we finished the doors (materials list at bottom):
Step 1 - Wipe the doors down to remove dust/dirt. Spot sand lightly (with high grit sand paper) if needed to remove imperfections.
Step 2 - Apply a pre-stain to avoid blotchy patches when staining. We use Minwax Pre-Stain. I used a piece of a cut up t-shirt to apply the pre-stain. It goes on clear, giving a wet appearance while applying, but dries clear.

Step 3 - Apply Stain. To achieve a medium brown color, we mix equal parts of Minwax English Chestnut and Minwax Natural stain. We applied the stain with a piece of a cut off t-shirt. Since this was our own stain combo, we stirred the mix often. We also wiped away excess stain with a towel as we went. We stained the one side of all the doors then let them dry over night. The next day we turned them all over and stained the other side. For details and routered edges, we found it easiest to flood the area with stain then wipe up the excess with a towel.

They look darker in these photos because they are laying flat in our workshop. Keep in mind as you stain projects where they will end up. Doors are hung vertically; the lighting will hit the door differently inside. It’s a good idea to take the door (project) inside to see what it will look like inside your home before you move to the next step.
They’re looking better but not finished yet! The most important part is the clear coat…
Step 4 - Apply a clear coat with a foam roller. We used Minwax Polyurethane for Floors in Satin. John ended up doing three coats; sanding lightly (with 220 grit and then wiping them down) in between coats. Man, did the doors end up smooth! You wouldn’t have to do three coats, but you’d definitely need to do at least two. This finish makes a huge difference for durability and looks.

We hope this encourages you to try your hand at finishing something, whether it be a door or a piece of furniture or decor you’re bringing back to life…the finish can make all the difference!
Happy finishing,
Megan
For more DIY tips, follow us on Instagram!
*Materials List:
Protective gloves
shop towels
cut-up tshirt/rag
Minwax Polyurethane for Floors (Satin)
*all of our finishing materials were purchased at our local Lowe’s store.