
DIY Mini Sign Weekend Project
Got the urge to be crafty? These winter months have really been dragging, so we thought we would share a quick and fun little DIY with you. It’s so easy, you can get it done over the weekend! Everything can be found at your favorite home improvement store and craft store.

Here's the How To…

1. Wood
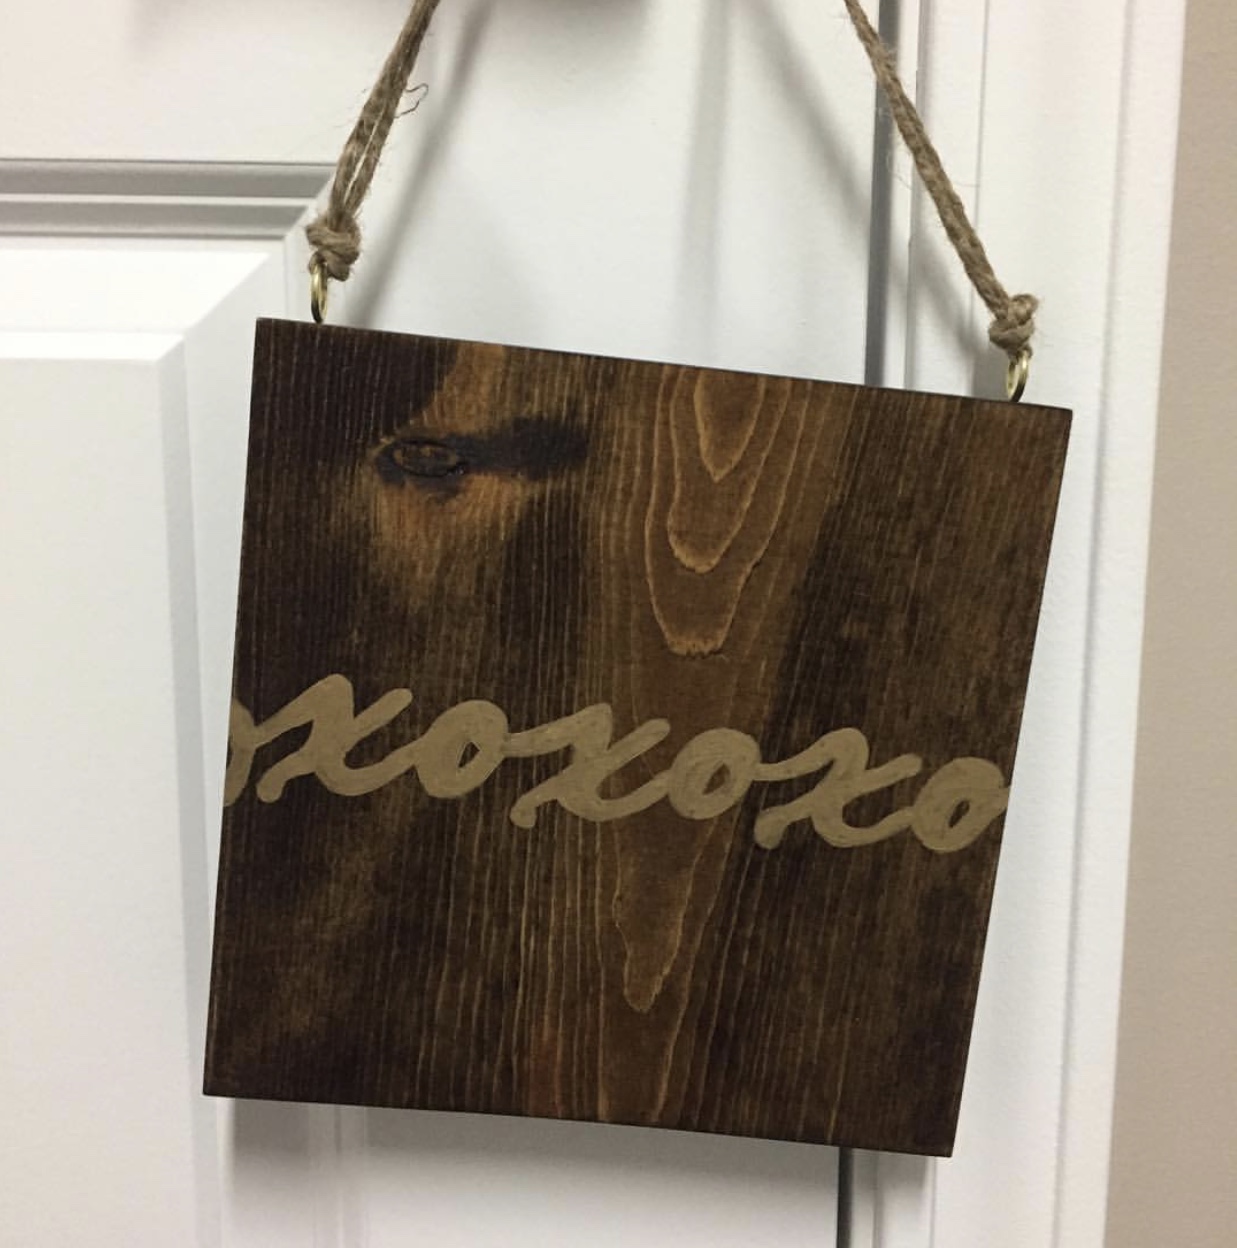
Our sign is 7.25” x 7.25” and .75” thick. This sign was cut from a 1x8 (which actually means it’s 3/4” thick, 7 1/4” wide and 8 feet long, silly I know.) You can go to Lowe’s or Home Depot and have them cut a board for you. TIP: If you buy an 8 foot board, you could make multiple signs (like 13!) out of it. Another option…most lumber yard/mills sell scrap wood. Our local Badger Lumber sells scrap pieces in different sizes for $1 each.

2. Stain
If you don’t already have an arsenal of stain, there are lots of options at home improvement stores or Walmart. This sign was stained in Minwax Dark Walnut color. TIP: Wearing gloves, stir the stain well. Use an old rag or cut up t-shirt to wipe on the stain. Wipe the excess off with a paper towel or shop towel and let it dry over night. Toss the gloves and rag in the trash.
3. Design
Alright, this ones up to you. The options are endless! I used an old stencil for the XOXO but Silhouette Studio, Circuit or just regular MS Word works great, too. You could always use google images. Find something you like, print it off, and trace the image onto your board. TIP: For something similar type “XOXO clipart” in your google search bar.

4. Paint
Now that you’ve drawn the design, you are ready to paint. You can use a small brush and acrylic paint or better yet use acrylic paint pens. They make a small job like this so much easier! You can find these at Walmart, Amazon and craft stores. TIP: Shake very well and test on a plate or paper before painting your sign.

5. Polycrylic
Technically this step is optional. Top coats are usually just used for things that get a lot of wear and tear. But if you really love you work, use this to protect the design! TIP: Try to get an even coat, don’t spray too close or too far away (About 6 inches away is a good distance) It dries fast and clear and should only take one coat. If you want it to be smooth then lightly sand in between coats.

6. Hanger
I used cheap little eye hooks, you can find these just about anywhere. They’re super simple to mount. Just pick the spot and twist them in. Pine is a soft wood so you shouldn’t need too much elbow grease to attach these. TIP: If you have any trouble you could always pre-drill a tiny hole to get you started.

7. Twine
This one is self explanatory, but you don’t need much to make this a hanging sign. Just lay out the length you want + some extra to be able to tie. Then tie at both ends and cut off the excess.
That’s it! If you have any questions, let them in the comments below. Don’t forget to let us know if you give this project a try. Tag us on Instagram we’d love to see your work!
Have at it, fellow DIY'ers.